


After a recent birthday party for my toddlers, I wanted to incorporate a craft with my kids for our thank-you cards. Growing up, my mother was huge on thank-you cards and their importance, so I hope to bestow this lesson on my children. Plus, I didn’t want to be the only person using my time and effort sending thank-you cards. Ok, I’m probably still the only person using my time and effort. You can use this project to for other paper products like art prints or anything that starts with white paper, really. Especially with the holidays coming up, a personal note in the mail is always well received and appreciated.
Things you’ll need:
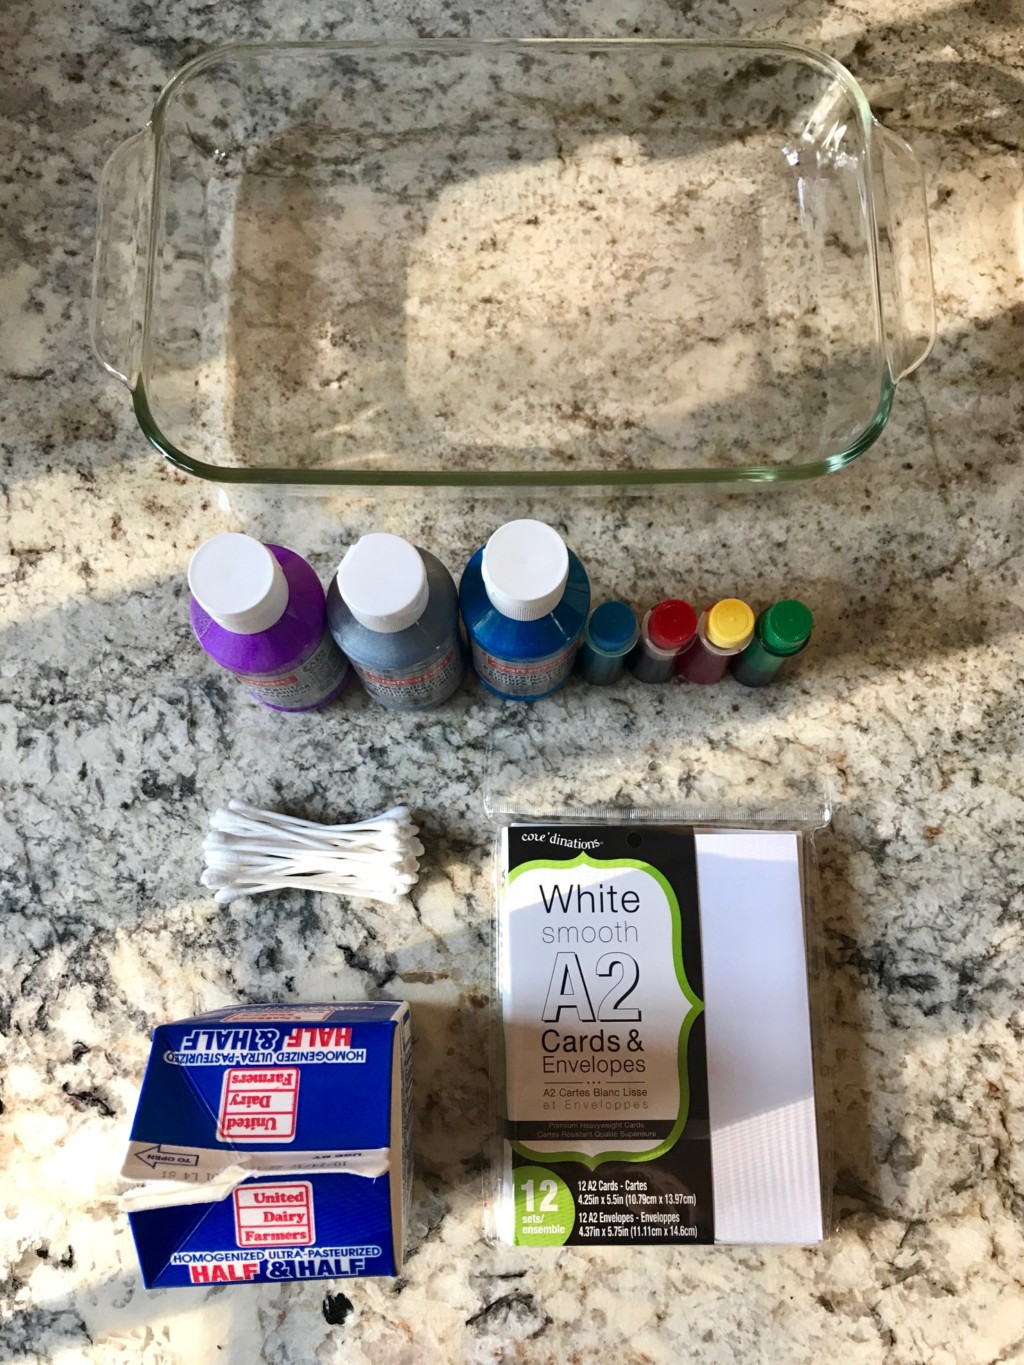
• Glass Baking Dish (large enough to lay your paper product, with a little room for hands to maneuver around)
• 1-2 Cups of Creamer, Whole Milk, or Almond Milk (any milk with fat included)
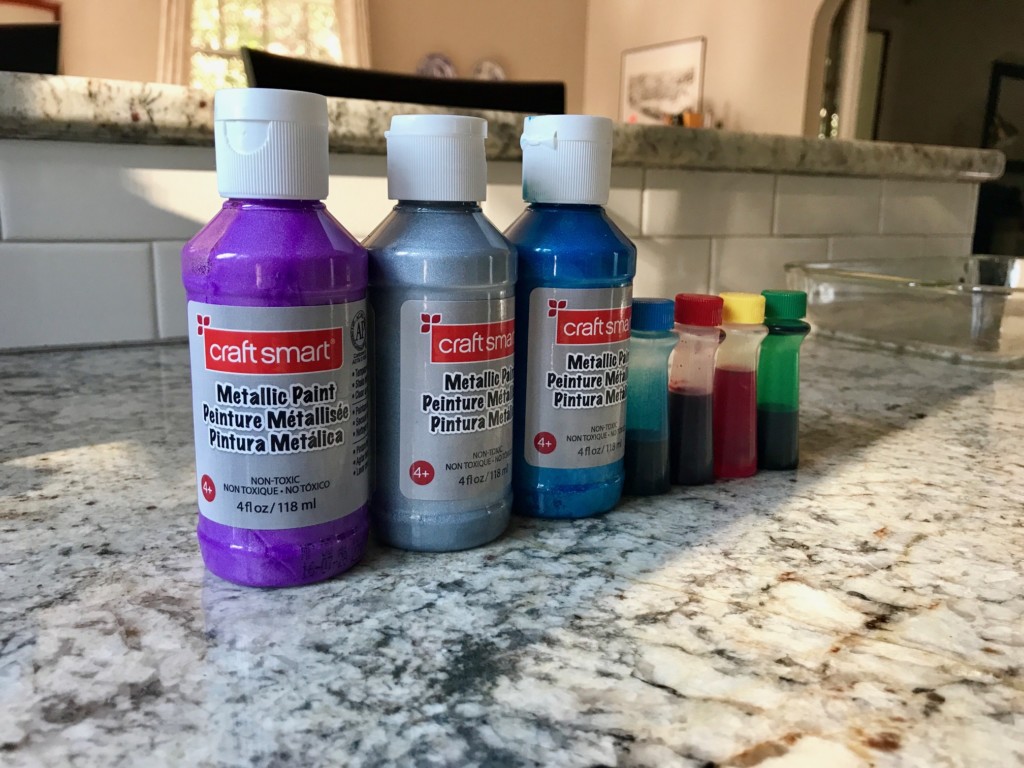
• Assortment of Food Coloring, Paint, Etc.
• Q-Tips
• Syringe Droppers (we’ve acquired a ton of these for some reason and they double as great water toys, too!)
• A Package of White, Blank Cards (I found a pack of 12 at our local craft store)
• Large Sheet of Craft Paper or Waterproof Tablecloth (to protect whatever surface you’re using to craft)
Step One: I like to assemble my supplies upfront because rushing around trying to find supplies mid-craft with anxious kids isn’t fun. We assembled all of our cards on our craft paper ready to dip.

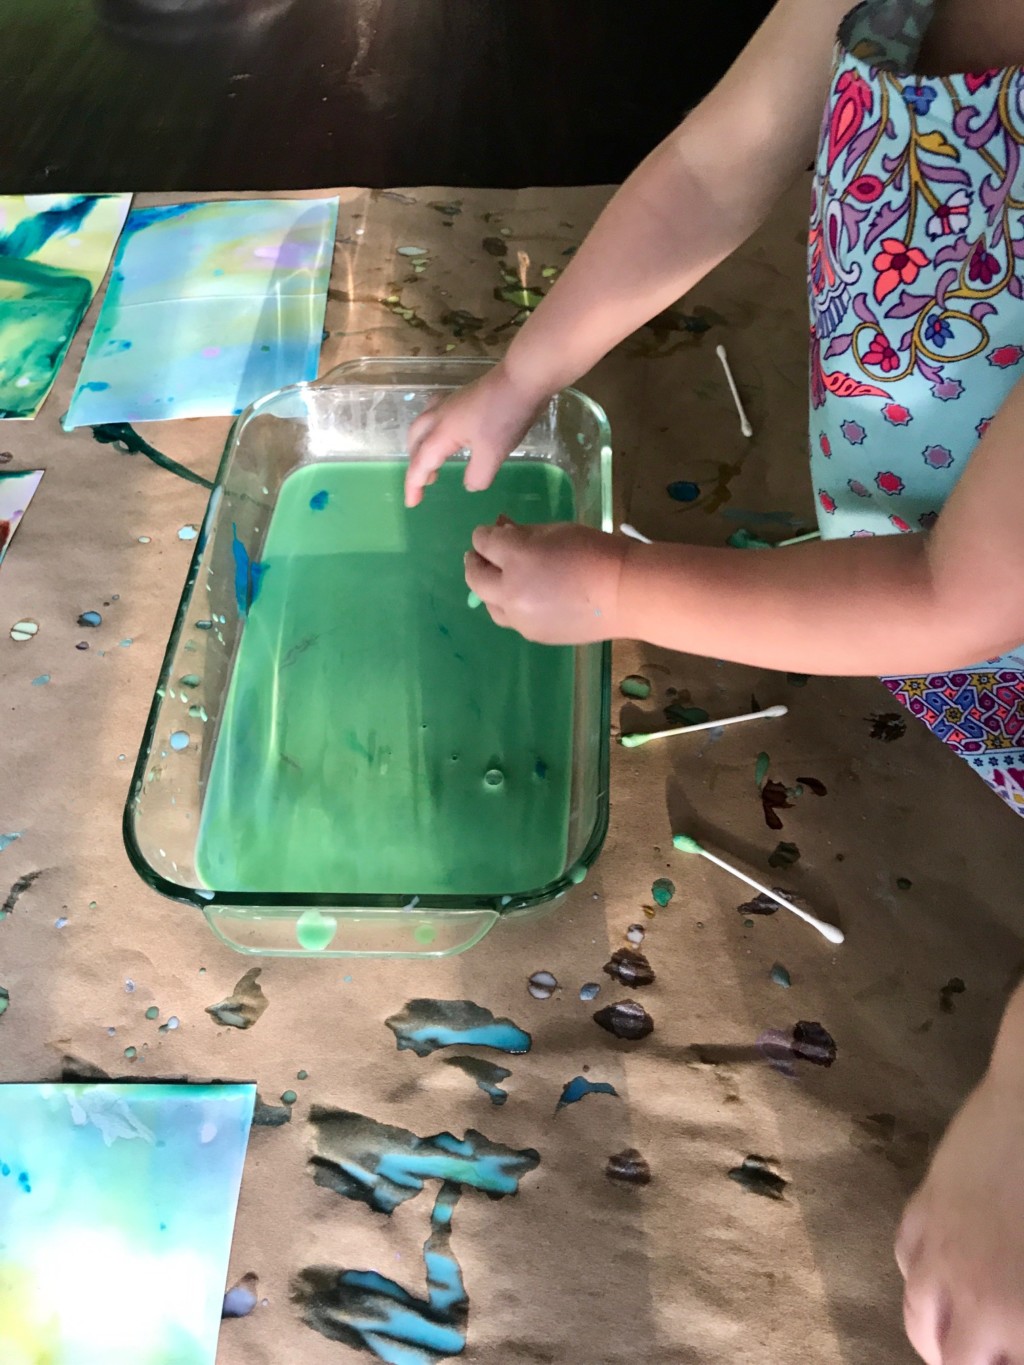
Step Two: Pour your milk into the baking dish. A clear dish is best so you can actually watch the marbled-effect on the paper. We used creamer that had an expiration date nearing. However, I’ve also read this project can be accomplished with shaving cream, but one project at a time, please ;).
Step Three: For those choosing to use paint, you’ll need to water it down a little in order to get a water base for your dropper. For our cards, we used a metallic tempera paint and food coloring. We simply mixed our paint with a few drops of water and mixed with a Q-tip. Side note, I love this paint for projects because it has a shimmer to it that makes your final project really stand out.
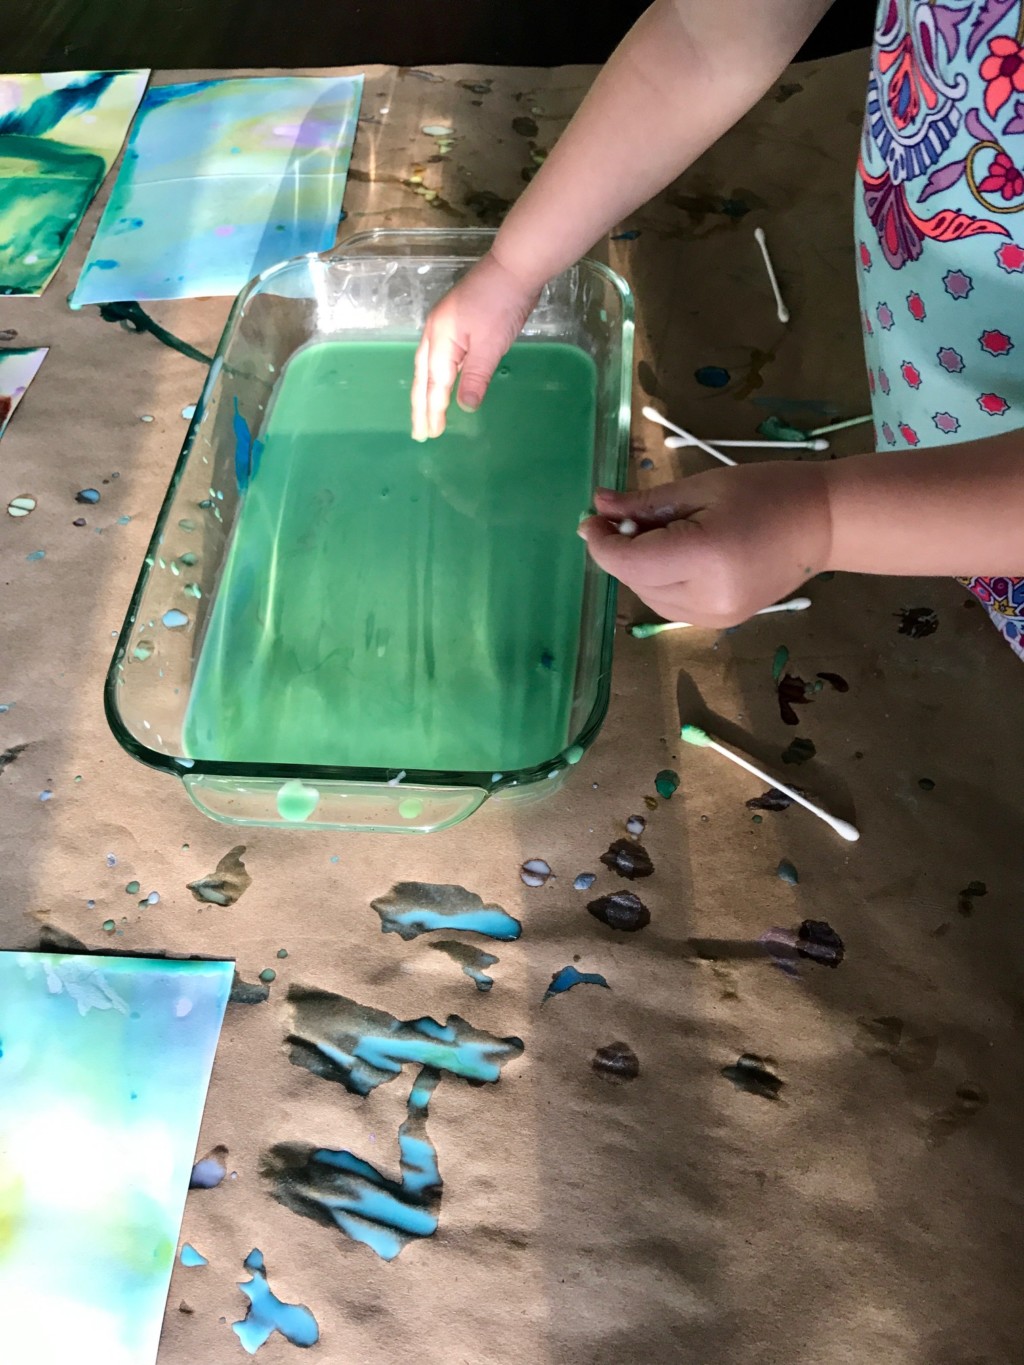
Step Four: This is where the fun starts. Allow your kids to start dropping drips of paint using the dropper or food coloring bottles. Use your Q-tip to swirl your color. The fat in the milk creates an oiled, marbled effect that is mesmerizing.

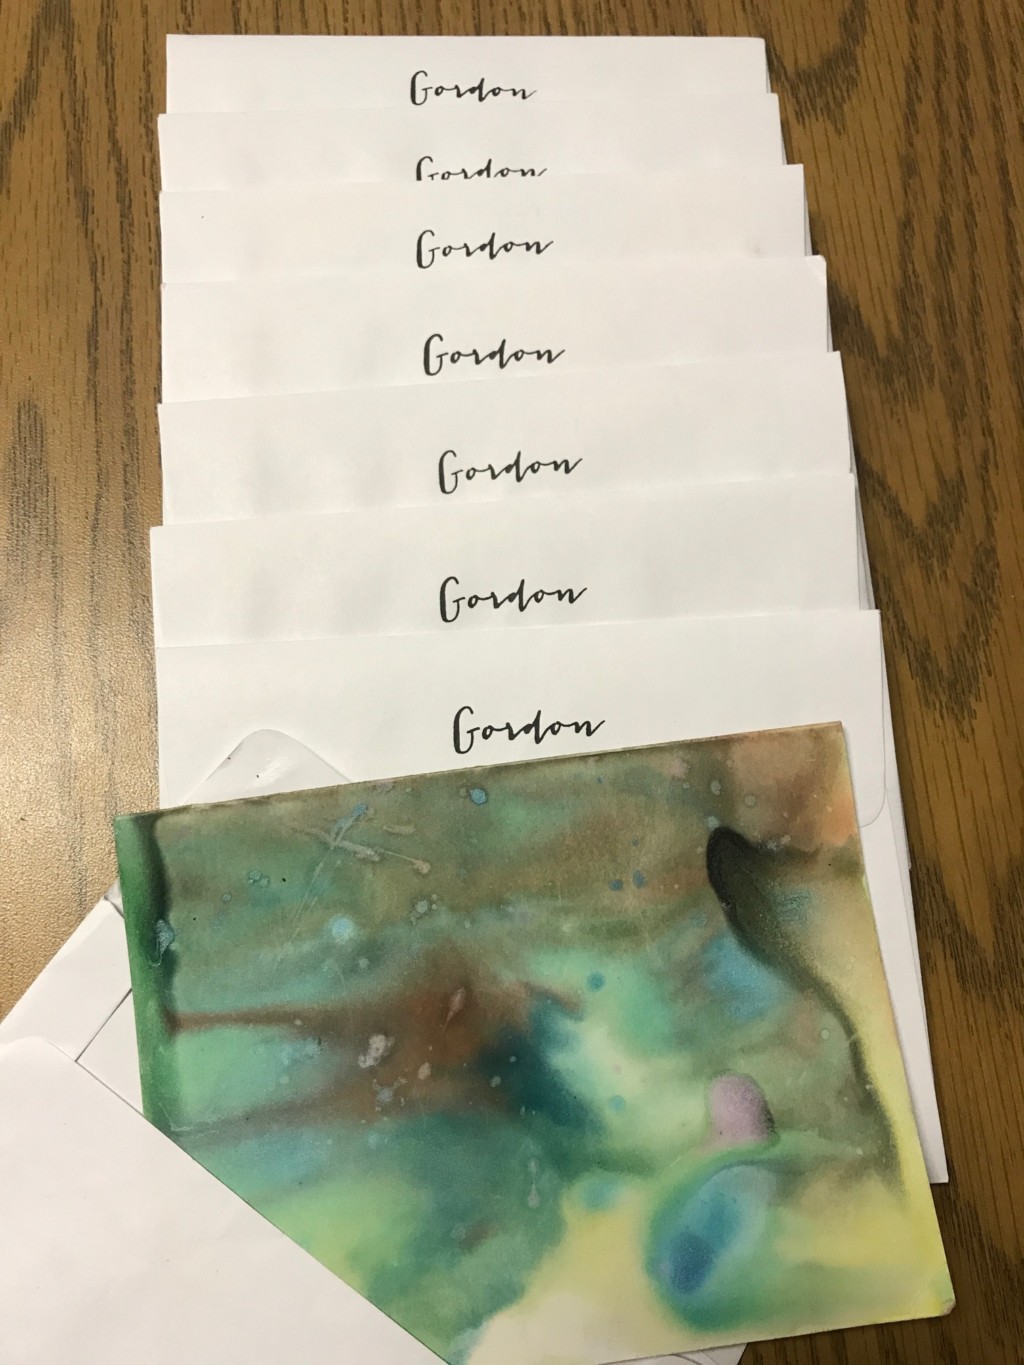
Step Five: Lay your paper in the dish for a few seconds. It really does capture the effect! Try to keep the milk to one side because when these do dry, it’s difficult to write the marbled side. Lay your paper to dry, face-up.
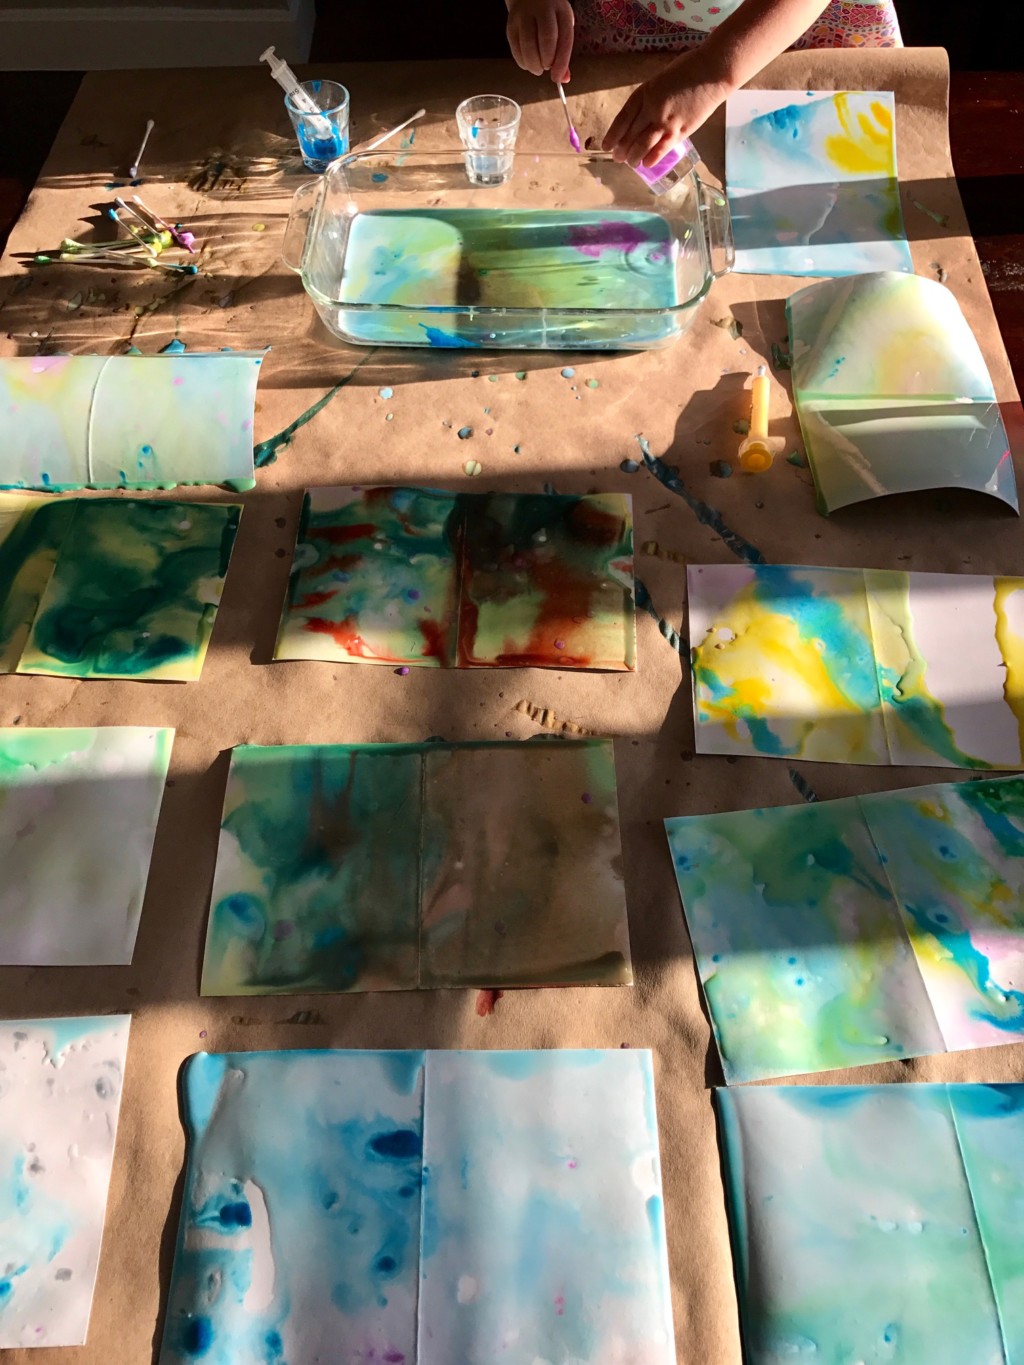
Step Six: After each card, we added a few more drops and swirled our Q-tips a little more. At one point, our milk turned brown and we started over again because we had a few more cards to finish. However, this craft was a great learning tool on colors and mixing!
Step Seven: Assemble all of your cards on the craft paper to dry overnight. (Don’t forget to clean up!)

Step Eight: Your cards are now ready for your personal message and trip to the Post Office. Happy crafting!


