


Poor Thanksgiving – pressed between Halloween and Christmas. I still find my son wearing his dragon costume and now my daughter has begun singing Jingle Bells, although I’m not sure she ever stopped from last December. Even Target, my compass for holiday décor, shows very little love to Thanksgiving – a burnt orange ceramic platter here, sweatpants for Thanksgiving dining over there. And, can we talk about the limited crafts?! I scoured Pinterest high and low — paper-mached pumpkins, gold stamped leaves — and finally, I found it, a no sew pilgrim bonnet. This Thanksgiving Pilgrim bonnet is super easy, super cute to wear and almost makes up for the lack of Thanksgiving crafts. Read on for details.
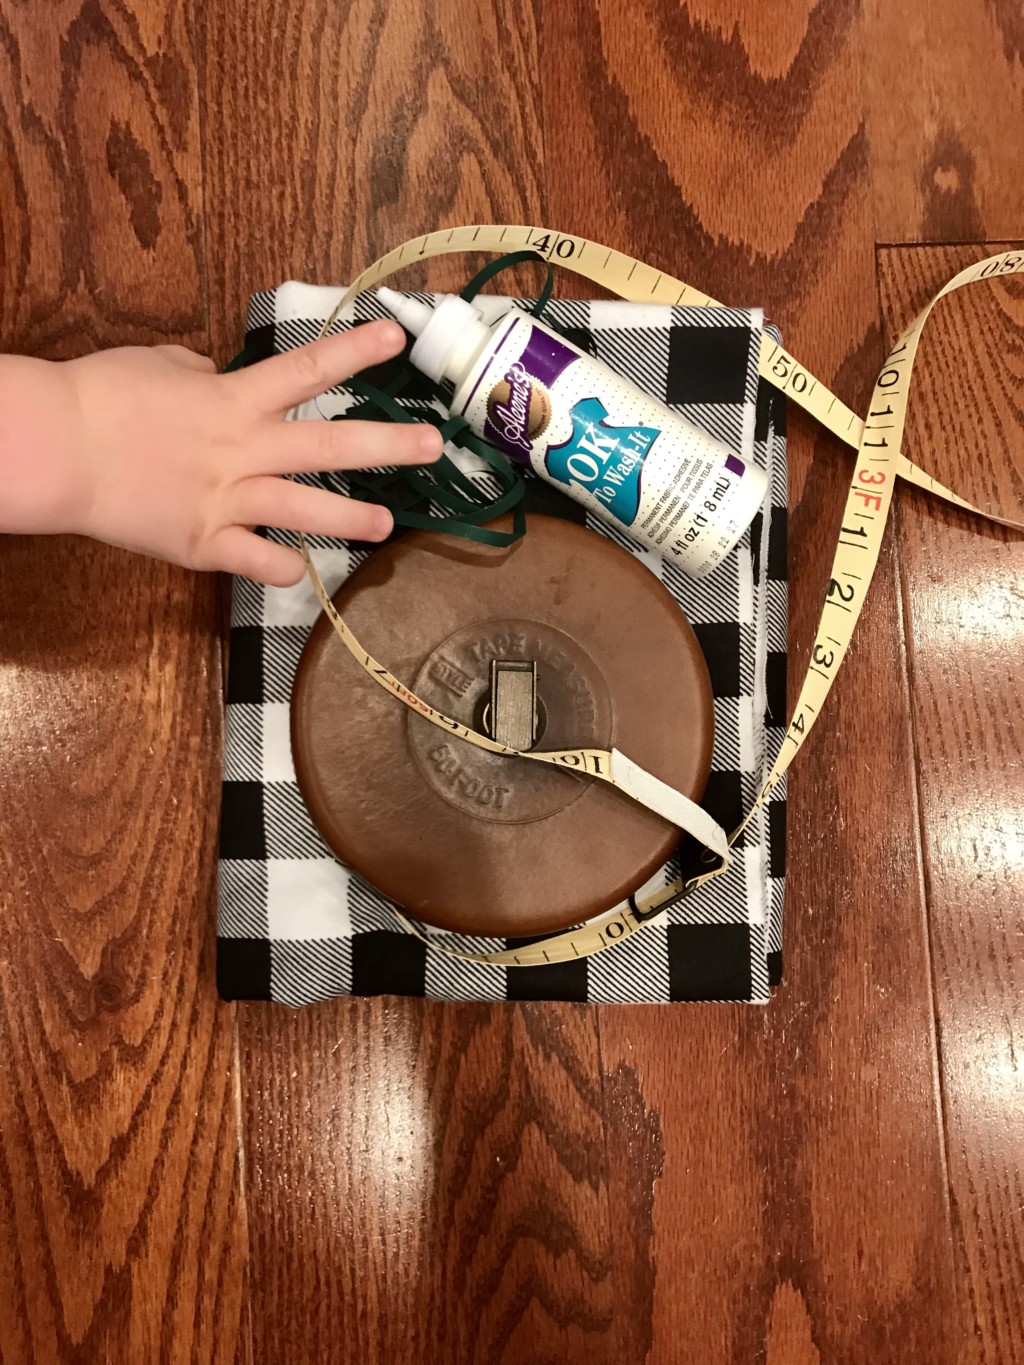
You’ll need:
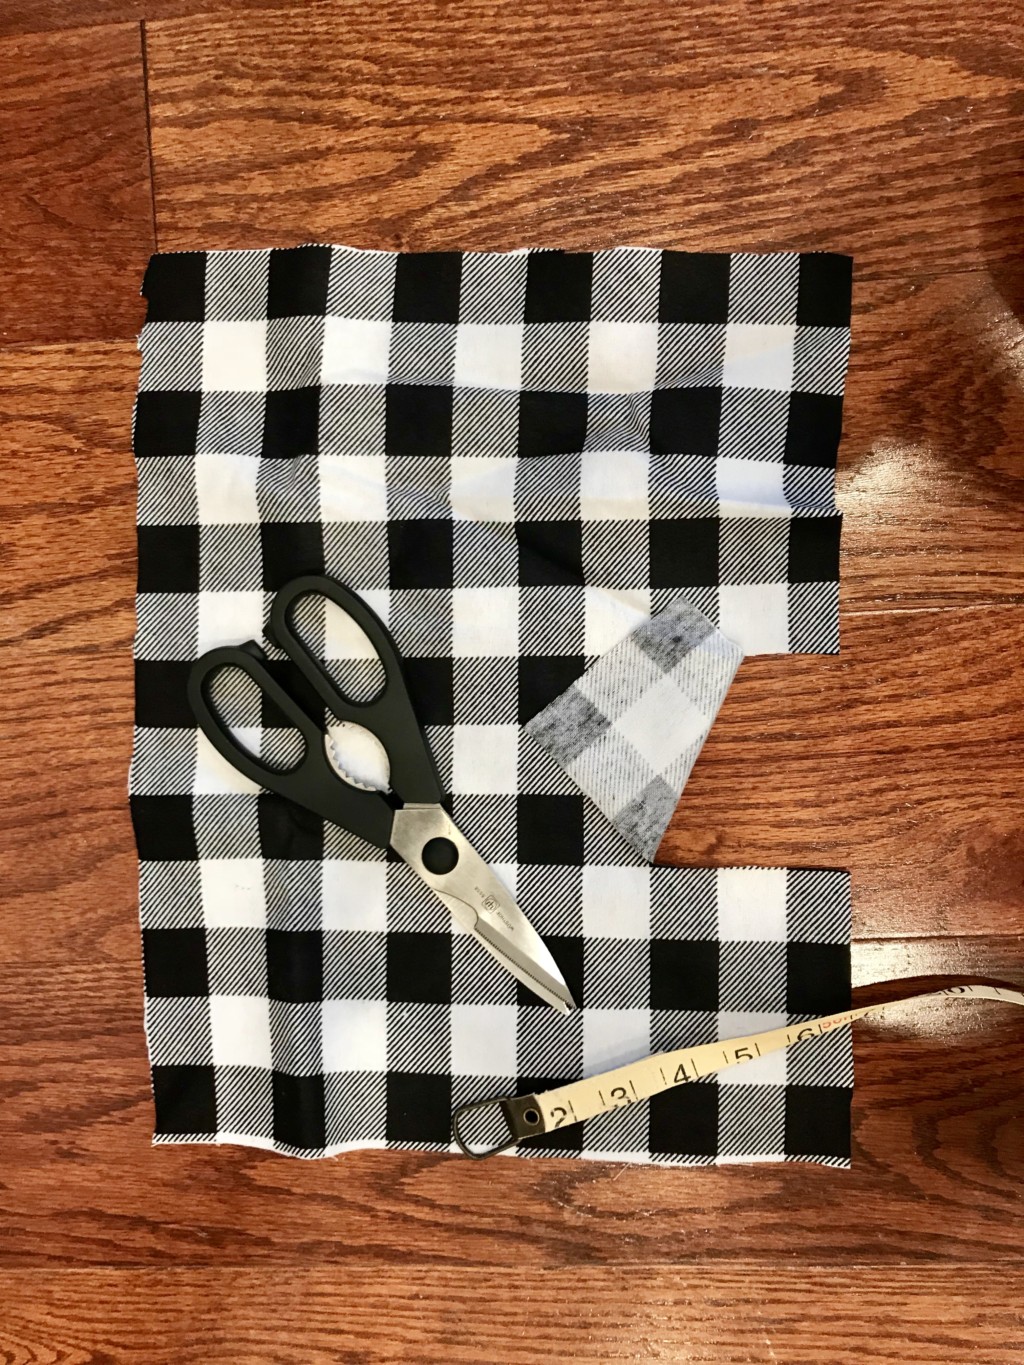
• Fabric (12 x 16 inches)
• Measuring Tape
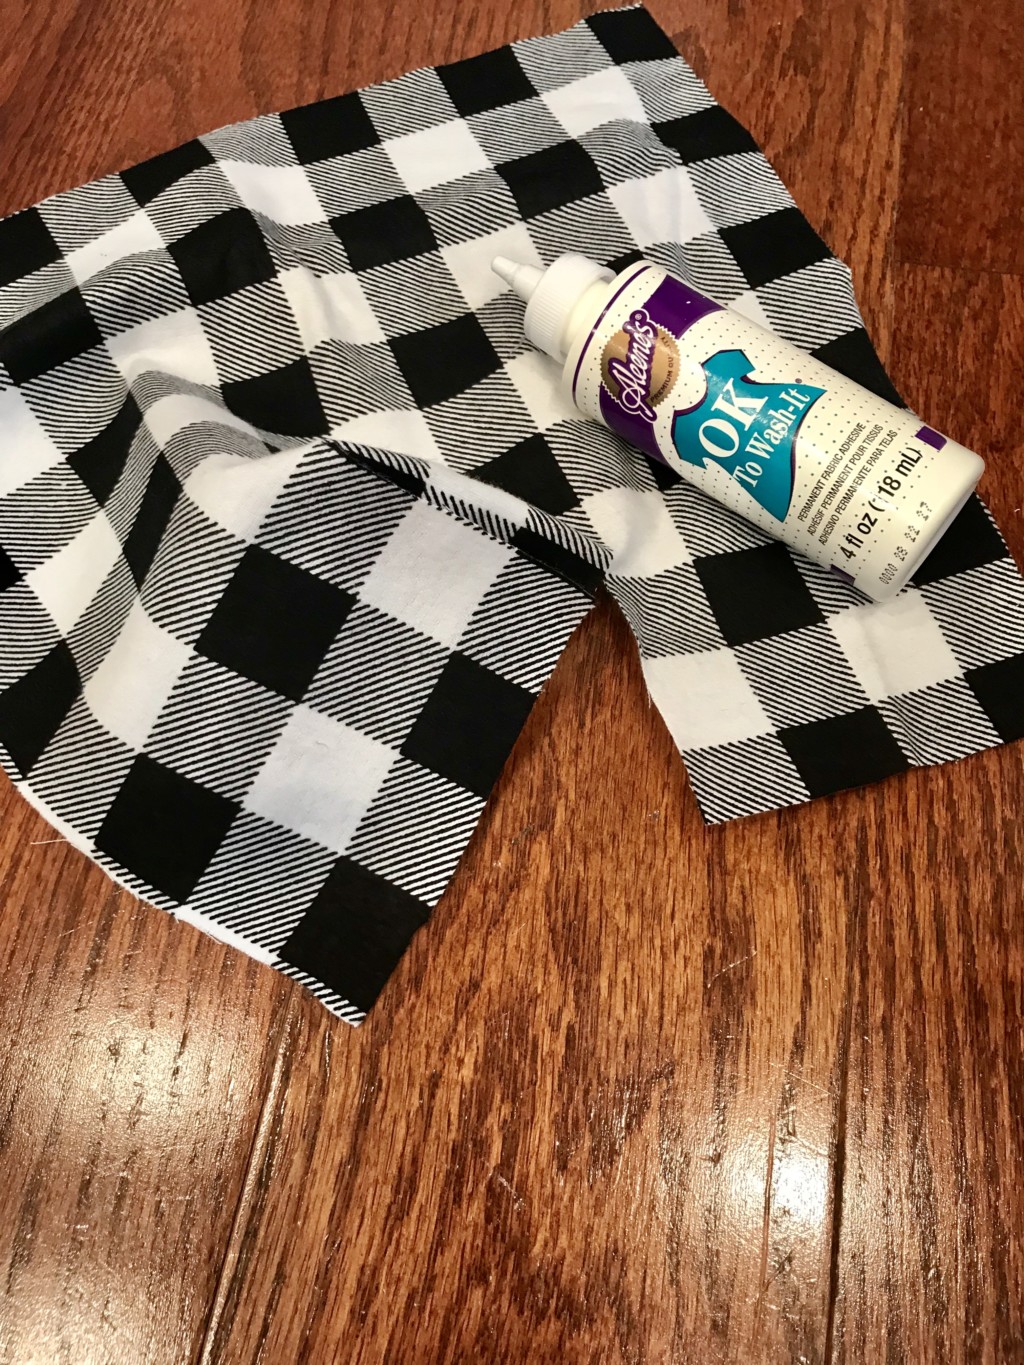
• Fabric Glue
• Ribbon
• Scissors
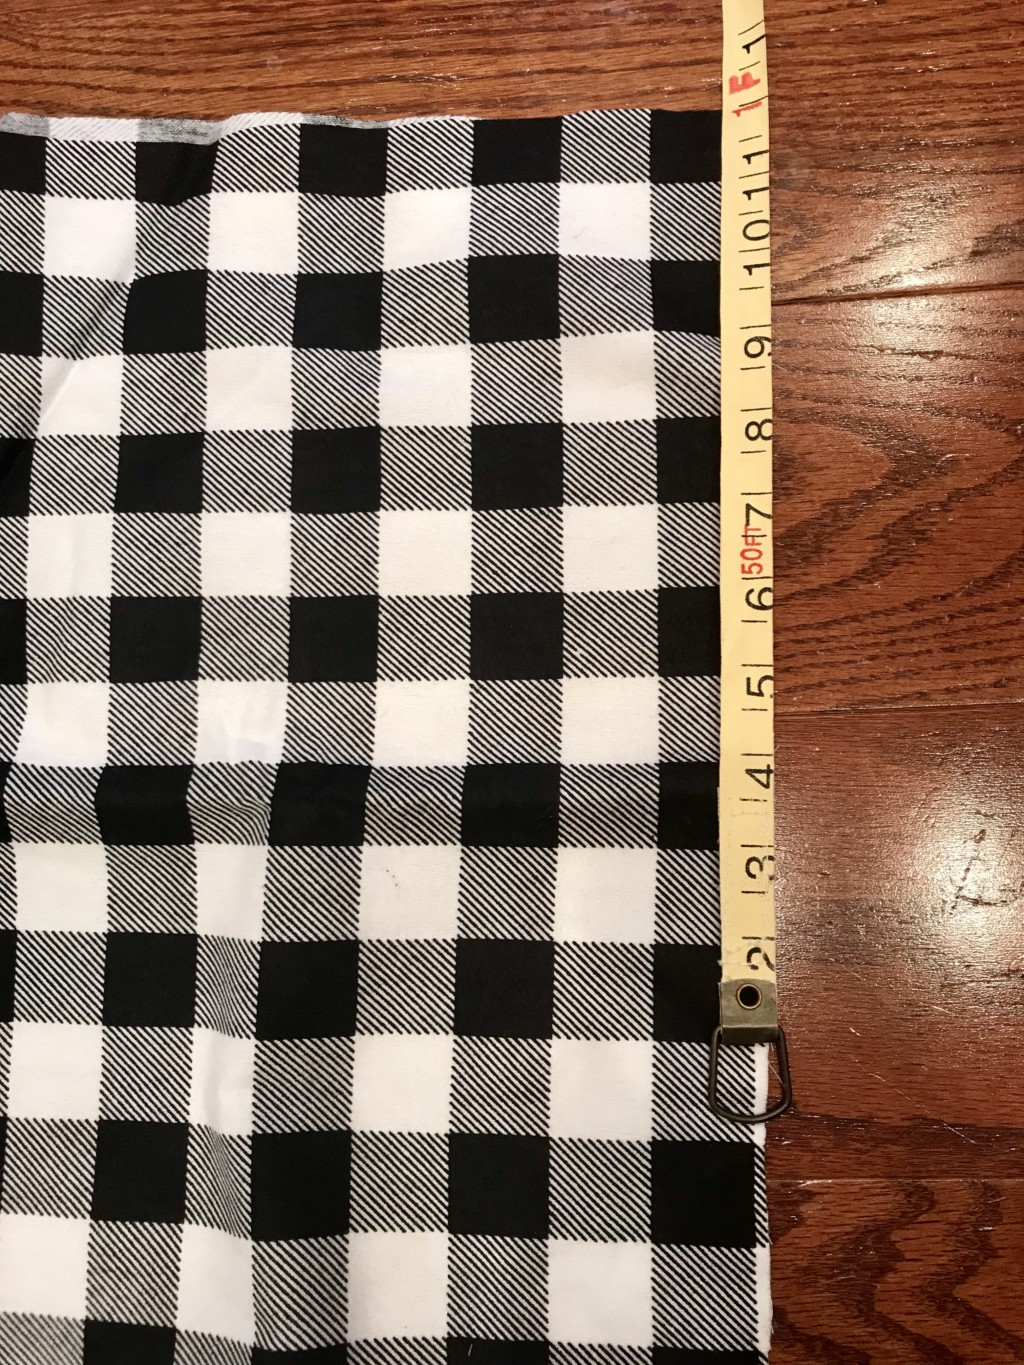
Step One: If you’re starting with a large piece of fabric, measure out 12 x 16 inches for your Thanksgiving Pilgrim bonnet.
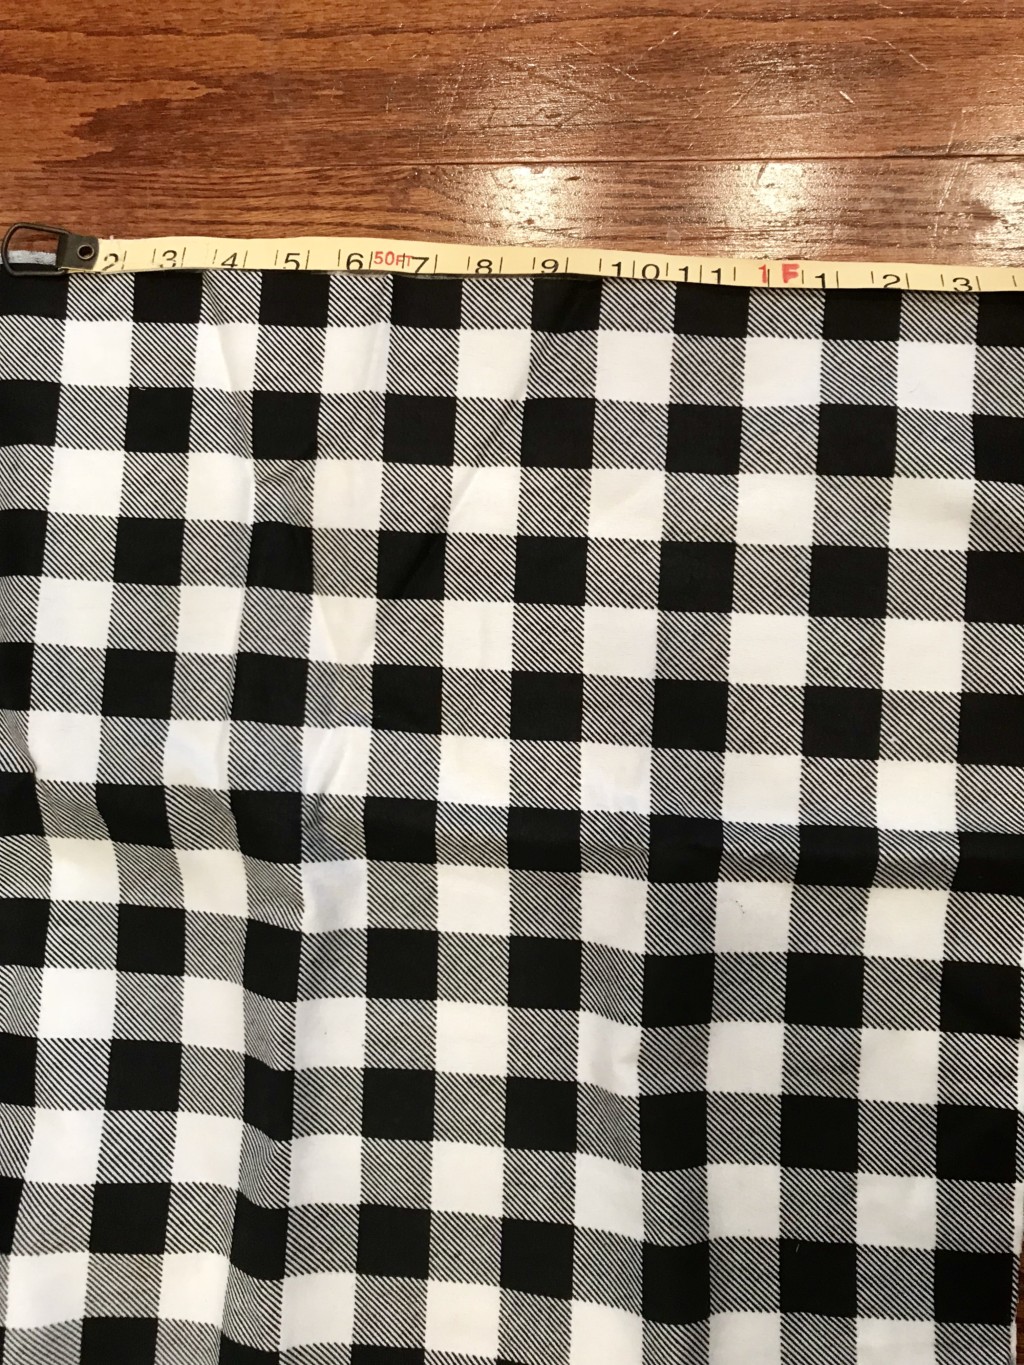
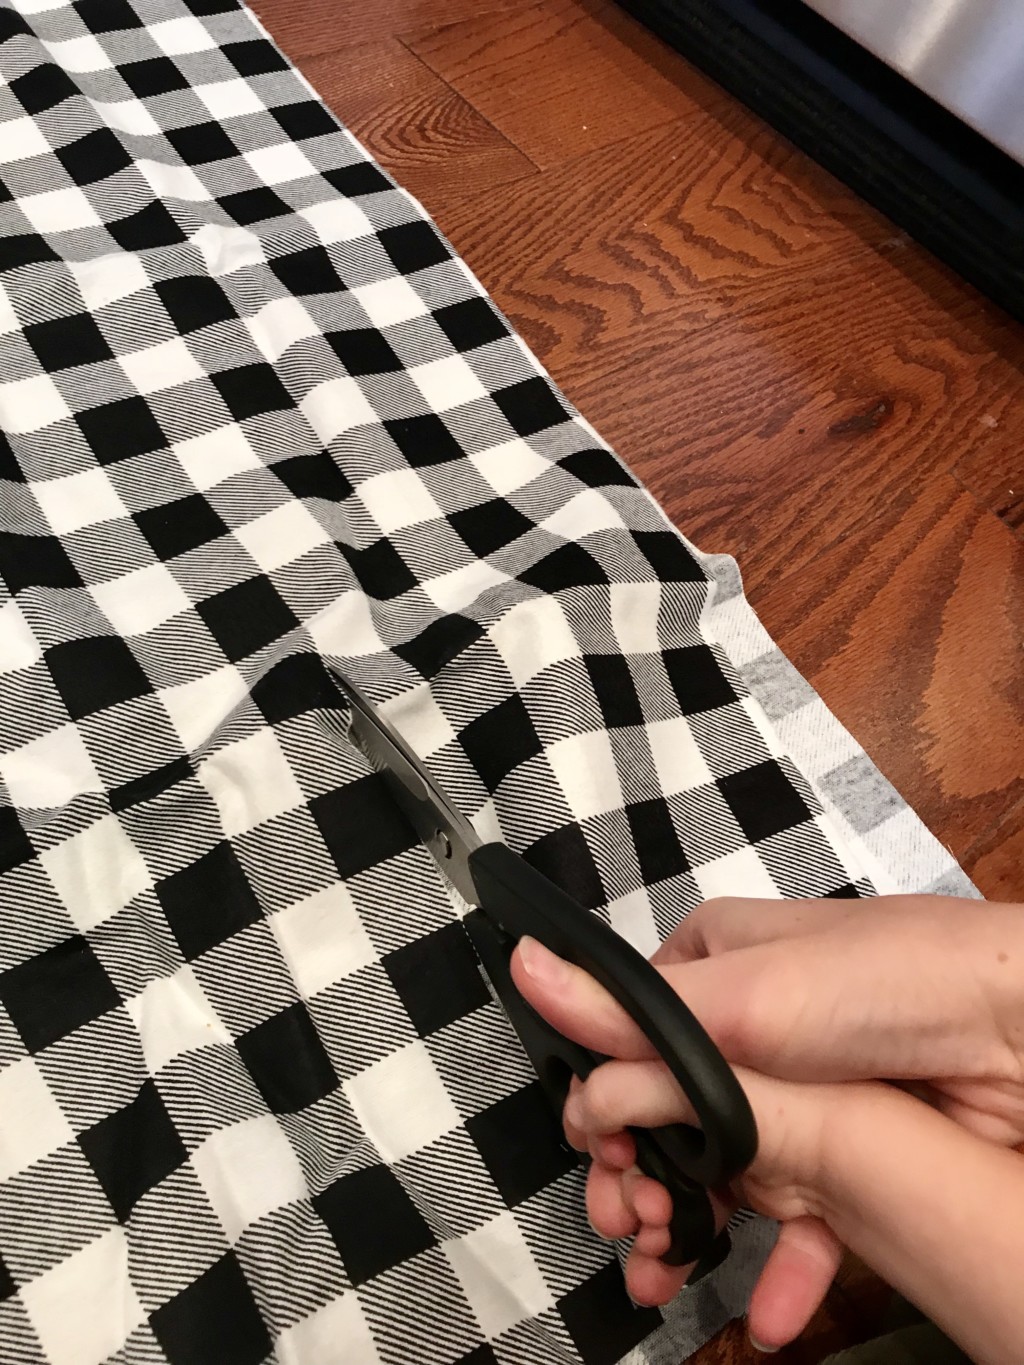
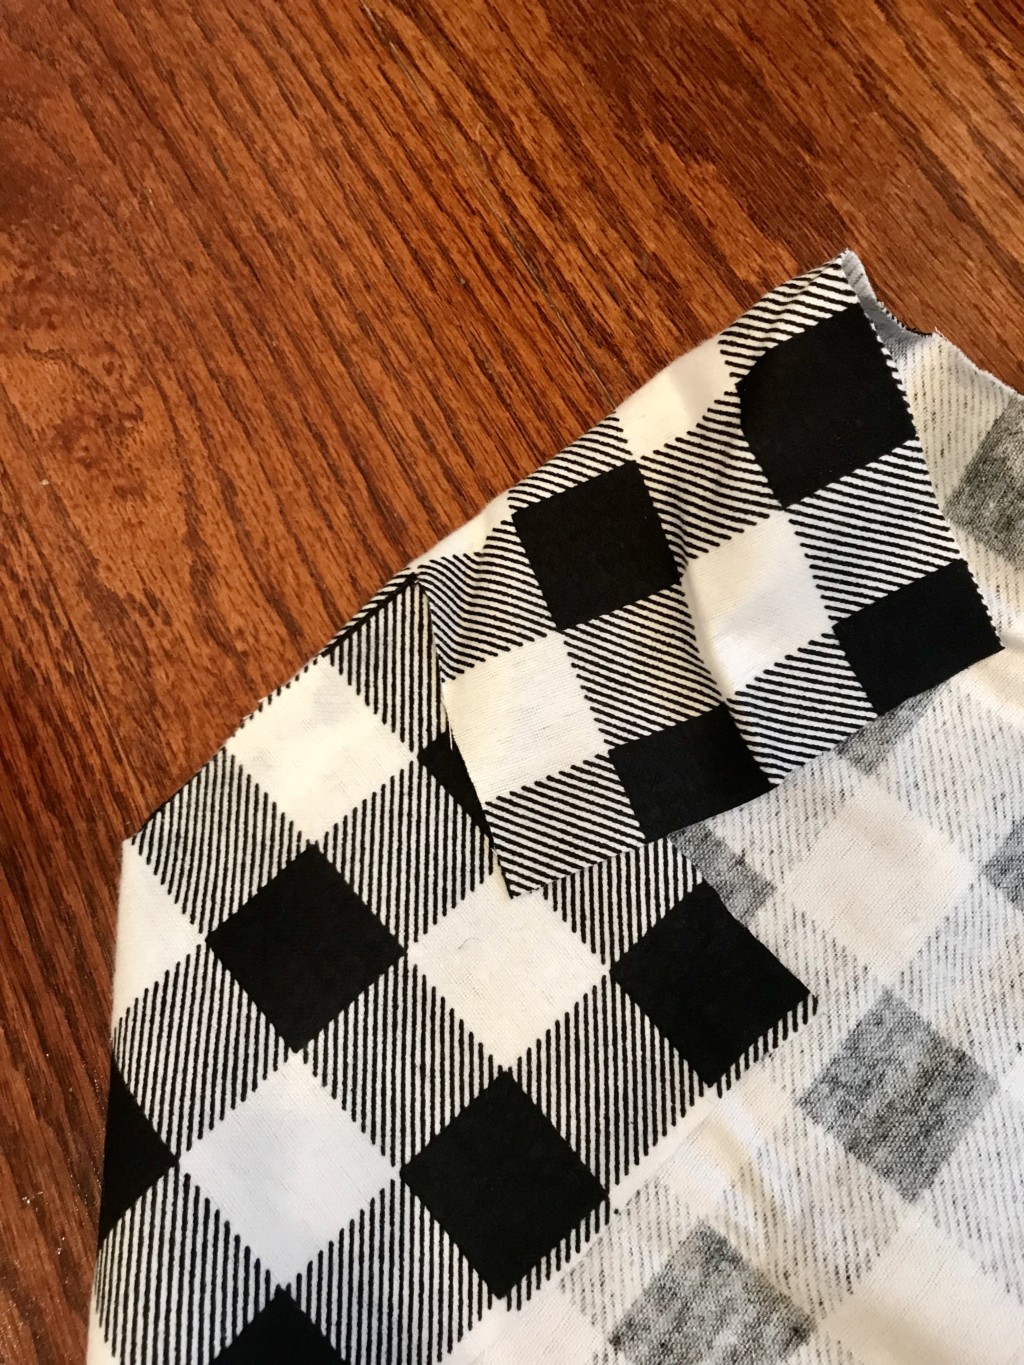
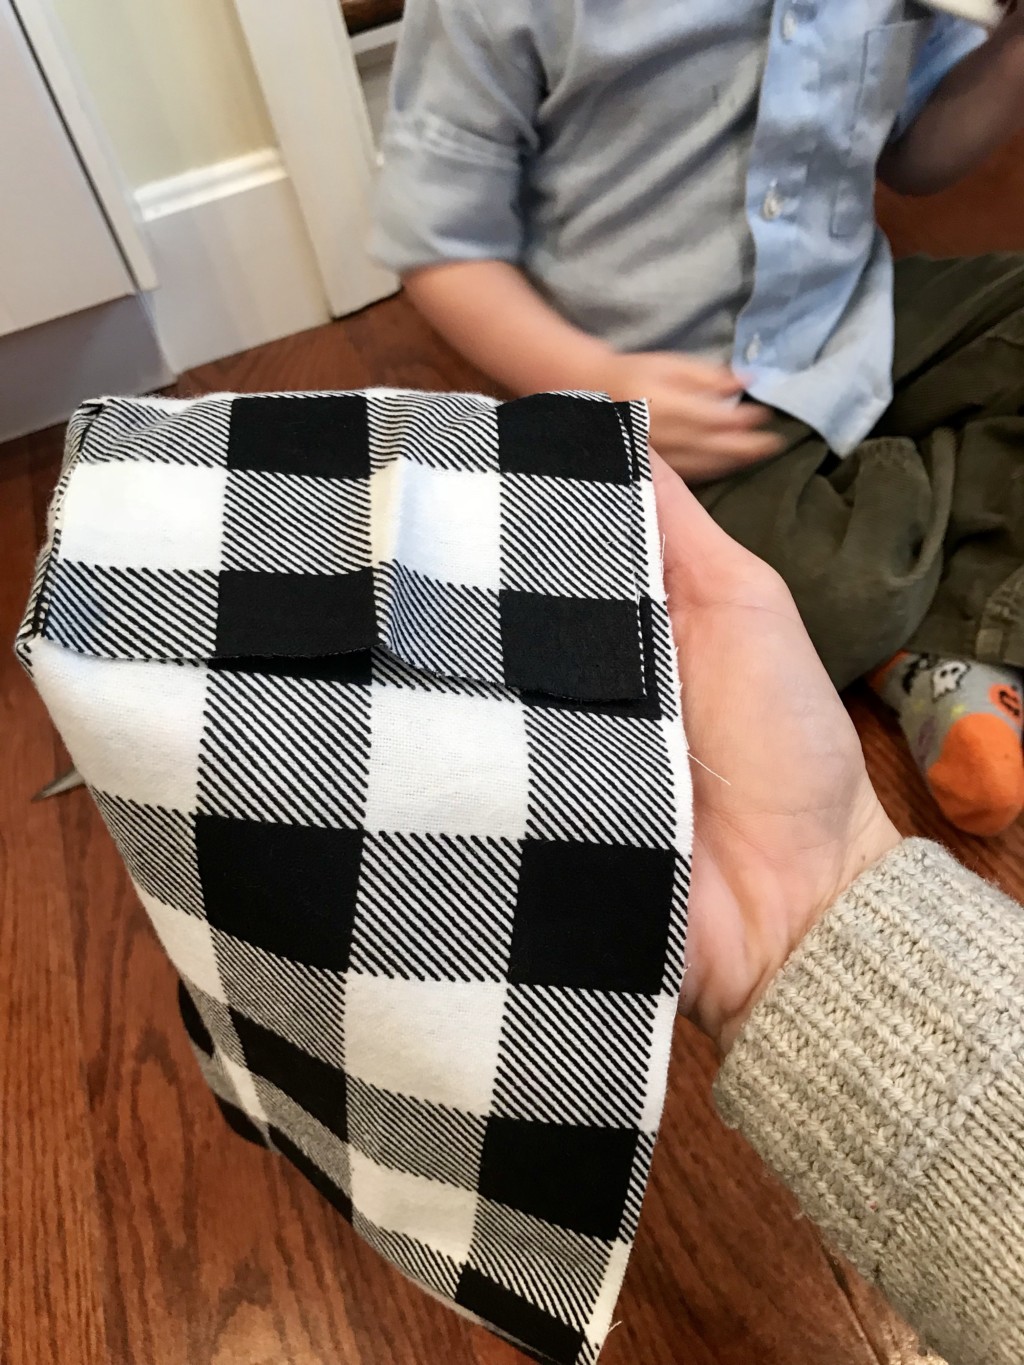
Step Two: On the long side (16 inch side), measure out six inches from each side and make two four inch high cuts perfectly in the middle.
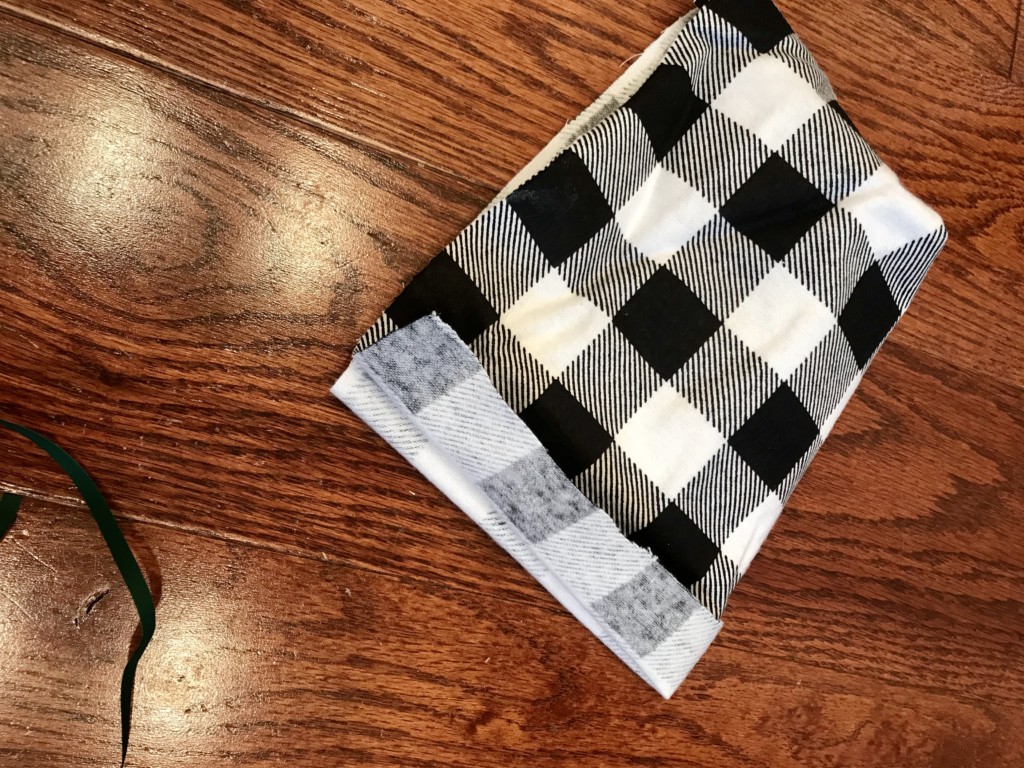
Step Three: Use your glue to fold one bottom corner to the top of your other cut. Repeat for the other side. This will be the back of your hat.
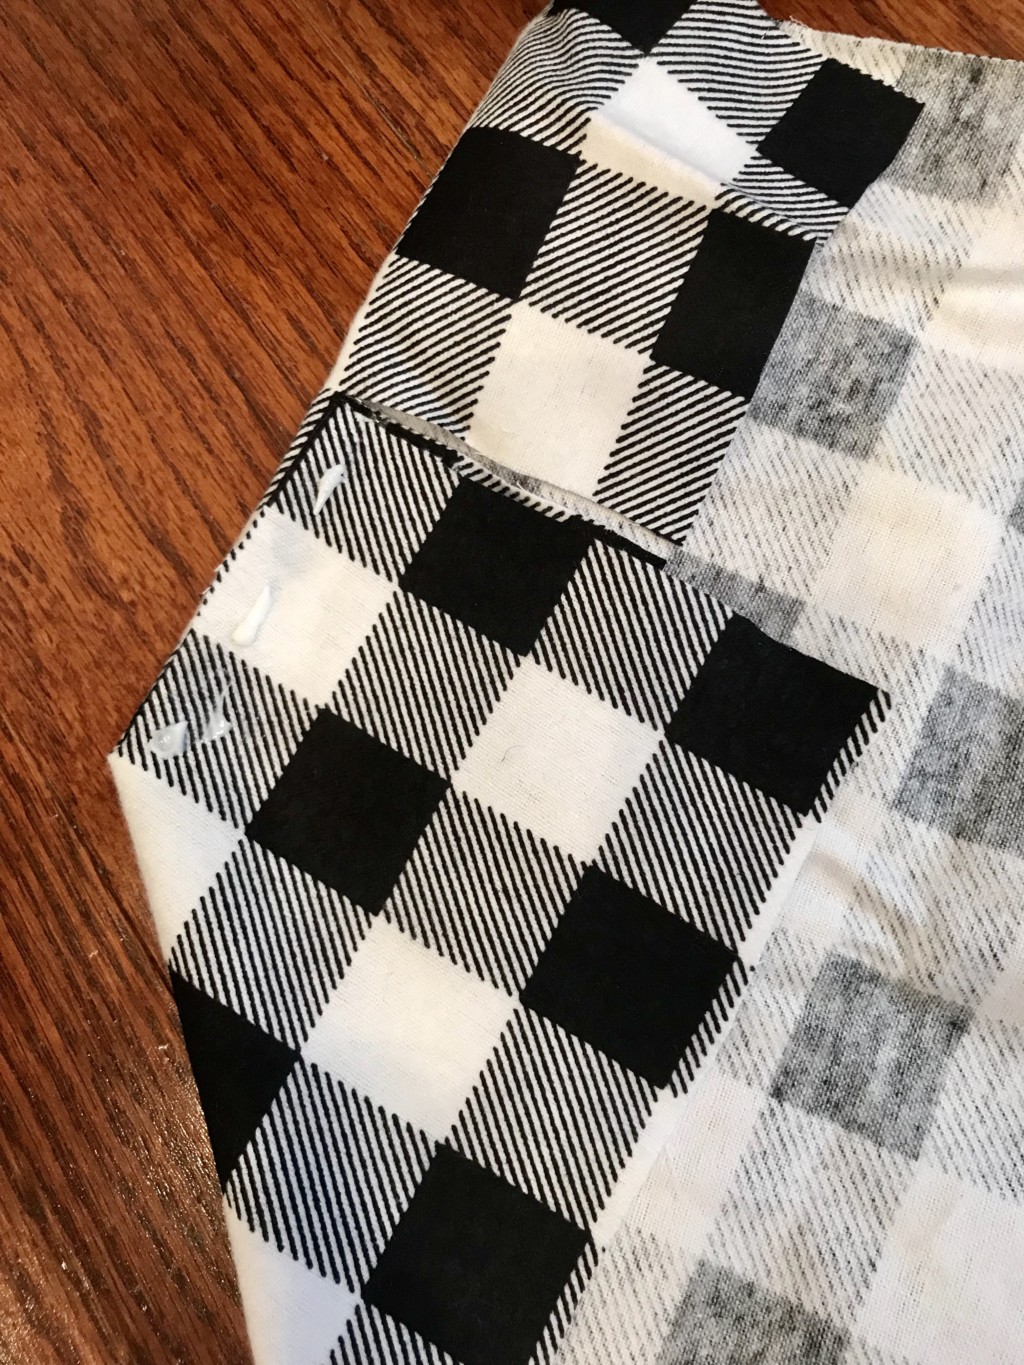
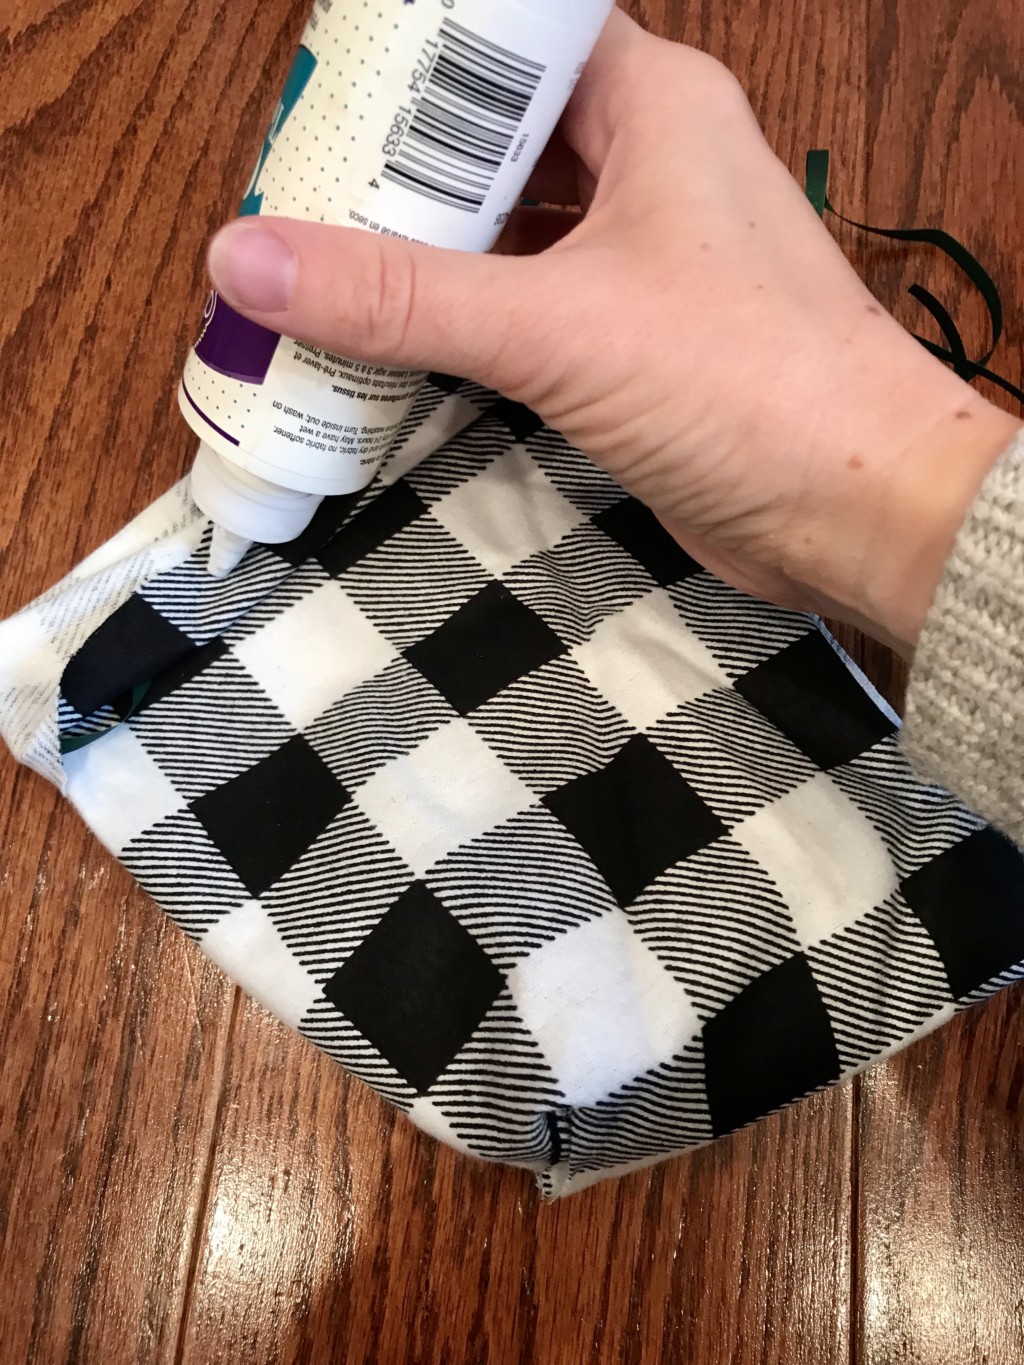
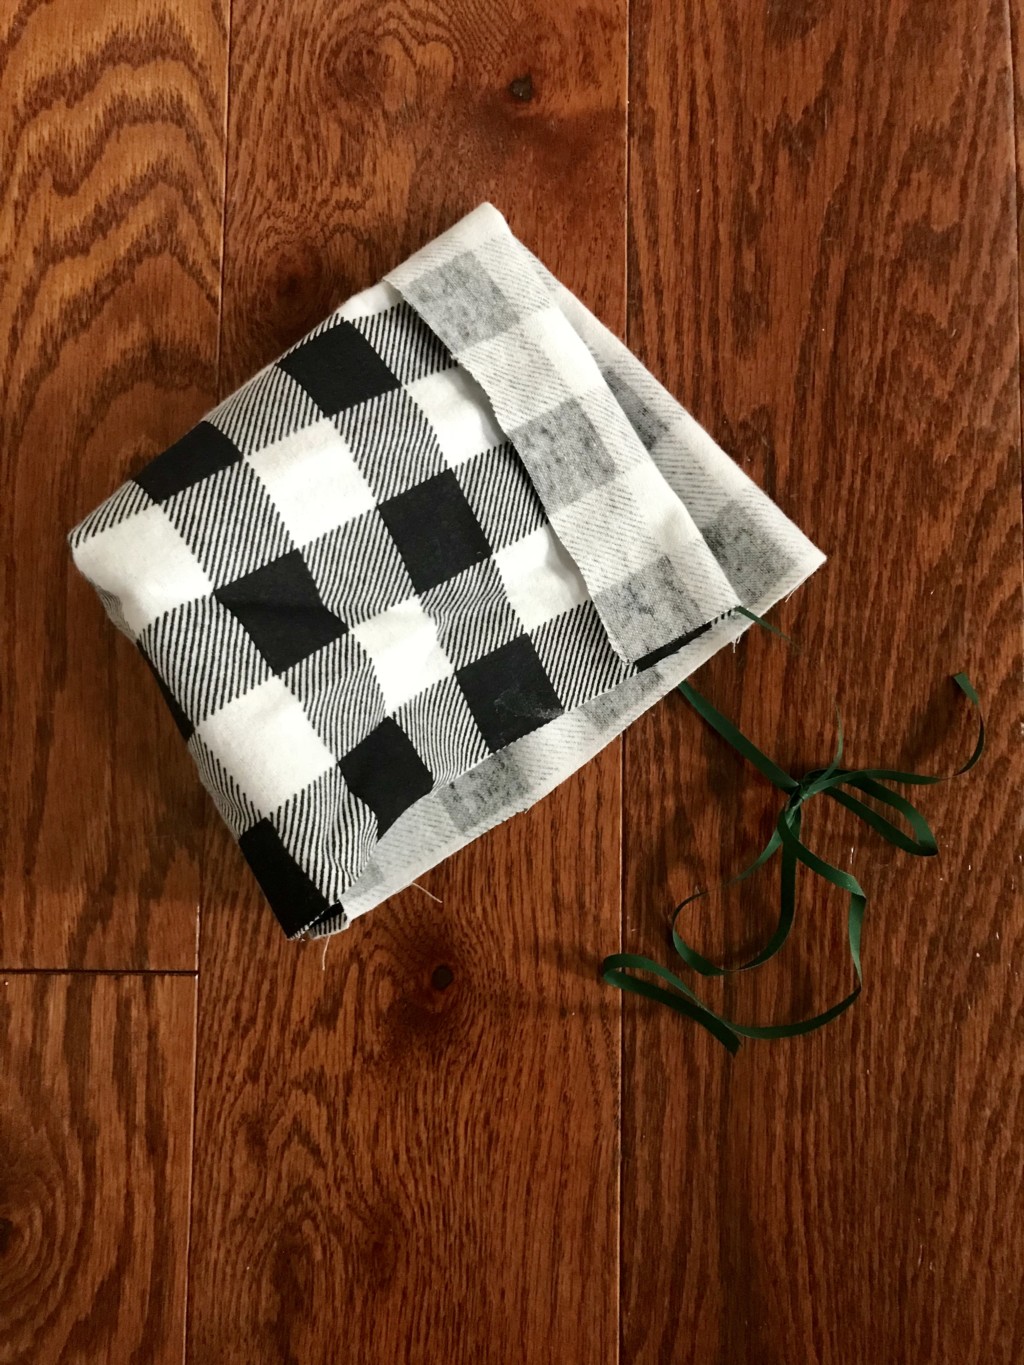
Step Four: Fold a one-two inch edge around the front of your cap. Place your ribbon inside and glue around the edge. I used ribbon that measured approximately 32 inches long.
Step Five: Let dry for a few hours.
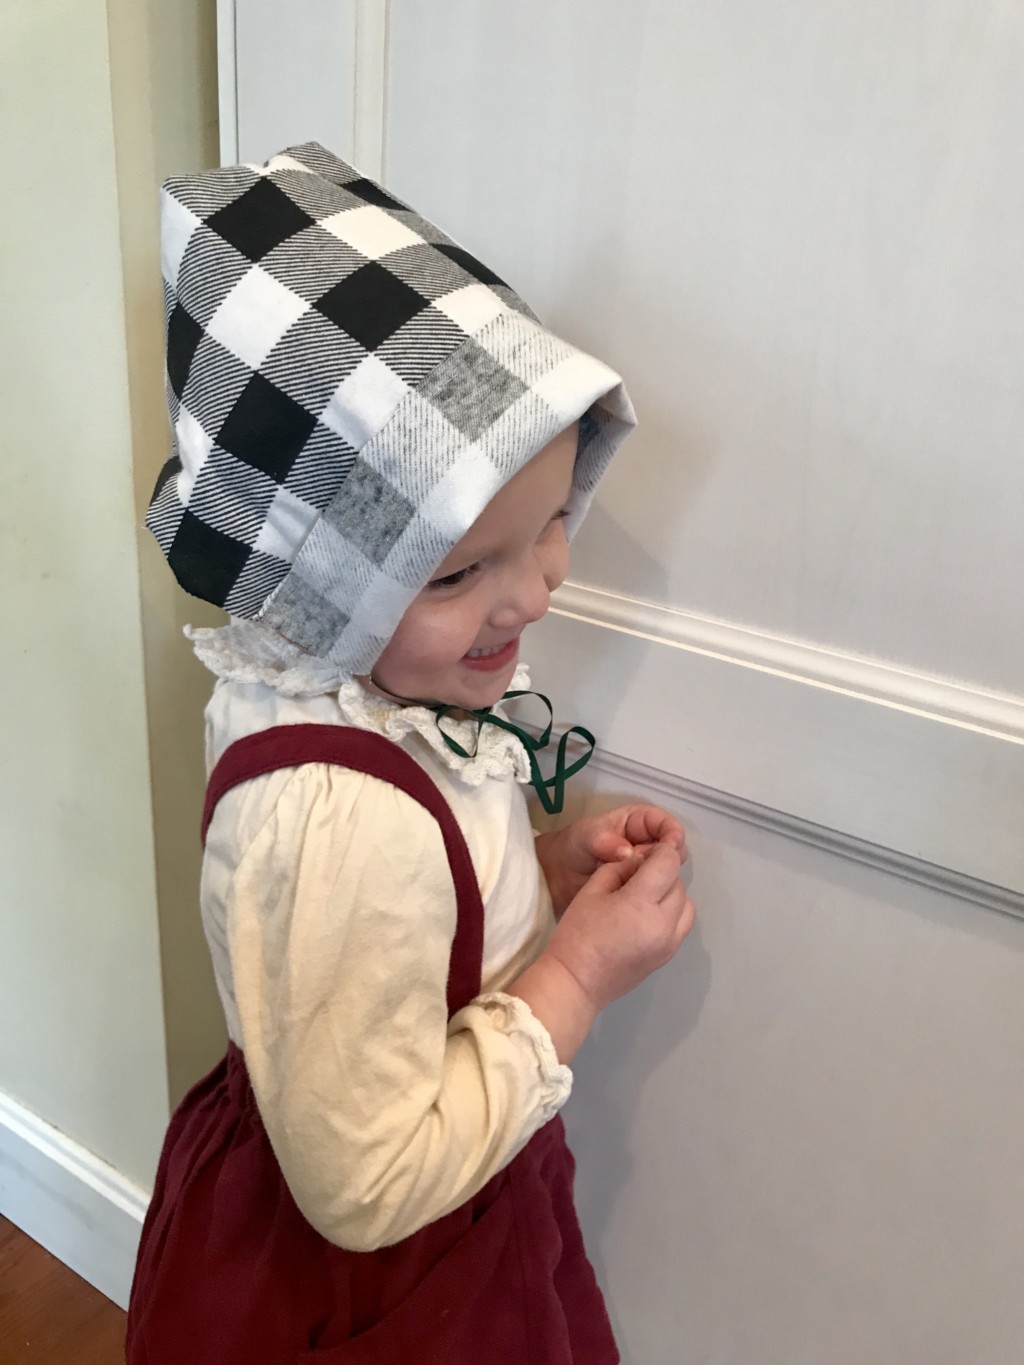
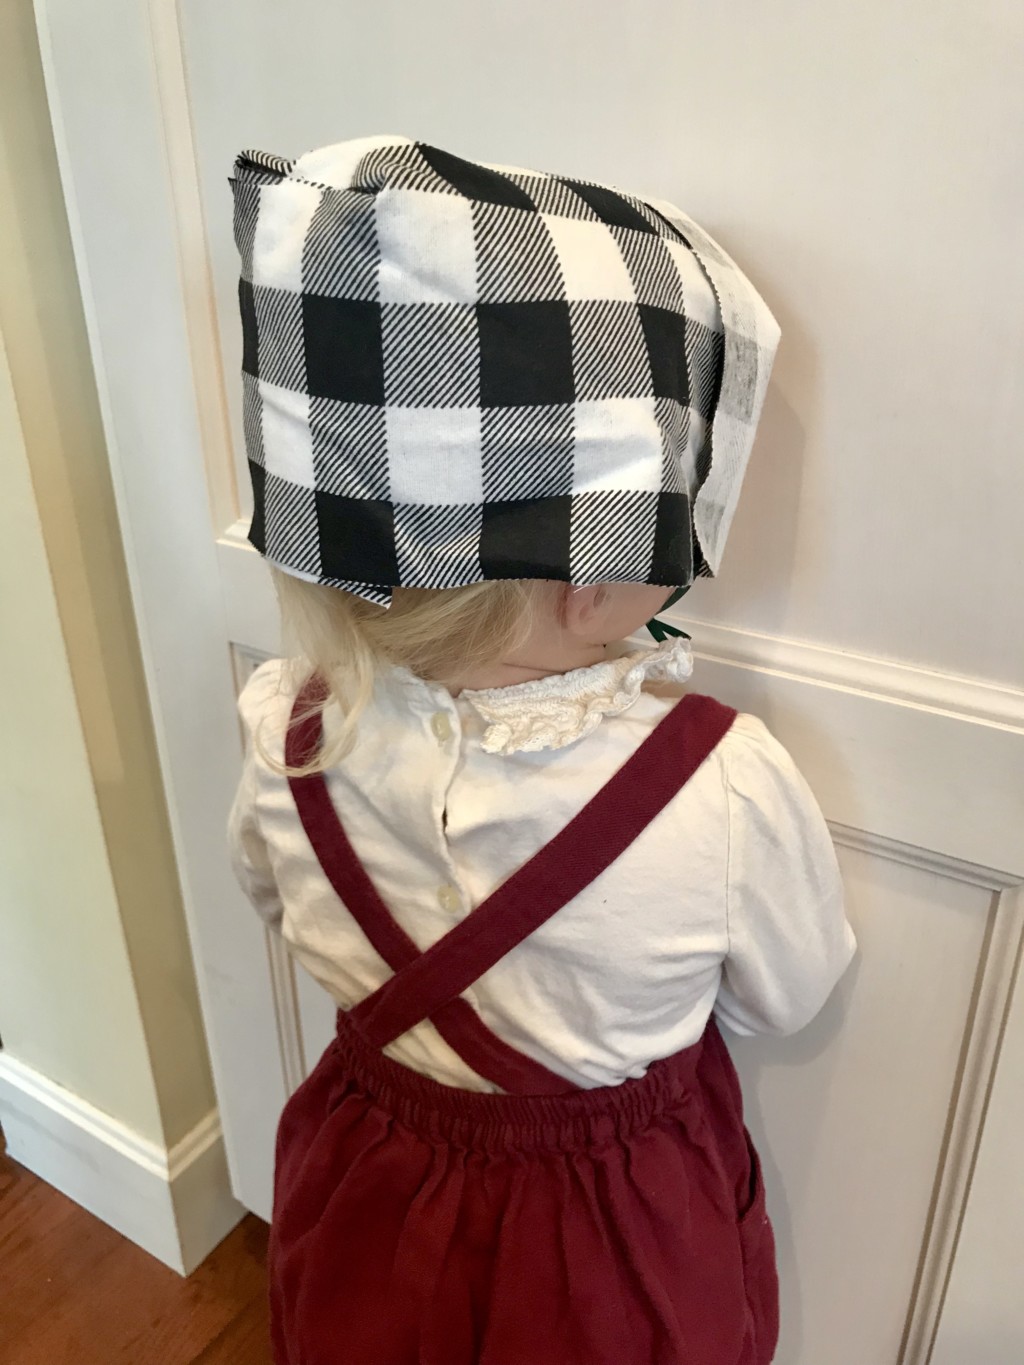
Step Six: Howdy, little Pilgrim!


